
Winter Melon Soup by Adrian Chang (@mykitsunecafe)
This recipe is a bit of a cop-out because it’s so simple, but I have to share it because it was such a revelation on how to use winter melon in a way that is not your classic Chinese Winter Melon soup. Not that the classic isn’t DElicious but winter melons can get so big that even after you’ve made something, you still have half left! Here is a wonderful way to use winter melon in a comforting blended soup if you want to try something simple but different. The texture is similar to blended potato soup but without the starchiness, making it lighter and less filling. I can’t wait for it to start getting cold again so I can get a nice warm hug from this soup throughout the winter and rainy season! Full cred to Chris for creating this lovely soup for me last winter.
Winter Melon Soup
1 Winter Melon of any size, seeded, peeled and cut into 2” cubes
A broth of your choice- we used bone broth for its richness, but even a Japanese dashi broth would work
1 Onion, roughly chopped
1 small knob Ginger, grated
2-3 cloves Garlic, grated
Optional- Extra vegetables of your choice in any amount, chopped into chunks (ie carrots, celery, potatoes)
Chives, for garnish
Cilantro or Laksa/Rau Ram leaves, for garnish
Fried Garlic or Onions, for garnish
Greek Yoghurt or Crème Fraiche
Sesame Oil
In a heavy bottomed large pot, first start by sautéing your onions in a bit of butter or canola oil until they are fragrant and start to turn translucent. Next add in the garlic and ginger, followed by your winter melon and any vegetables you want to add. Add enough broth to come up about ¾ the depth of the vegetables. Note: If you don’t have enough broth, water will also do, just keep in mind you’ll have to season it more at the end. At this stage, you do not need to cover the veggies with the broth as the winter melon will pass on its liquid to the soup as it cooks. Bring it all to the boil, turn the heat down and simmer half covered until the vegetables are soft. This shouldn’t take very long HOWEVER you could easily let this sit simmering for a couple of hours if you wanted to. If you do this, make sure you keep an eye on the broth level. If you notice all the broth has been absorbed into the vegetables, top it up a little or the veggies will eventually catch and burn at the bottom. When done, let it cool slightly so it’s easy to handle. The next step will have some splashing.
When you are ready, using a hand blender directly in the pot or in batches in a free-standing blender or food processor, blend the soup and its contents until pureed and smooth. If you find you’ve allowed too much liquid to be absorbed, add a bit of broth to make it easier to blend. If using a blender or food processor, put the soup back into the pot. At this stage, you can judge for yourself if the consistency is right for you. If it’s too thick for you, add some more broth. We like the consistency of a bisque. Warm the soup back up just until it simmers and season with salt and pepper to taste.
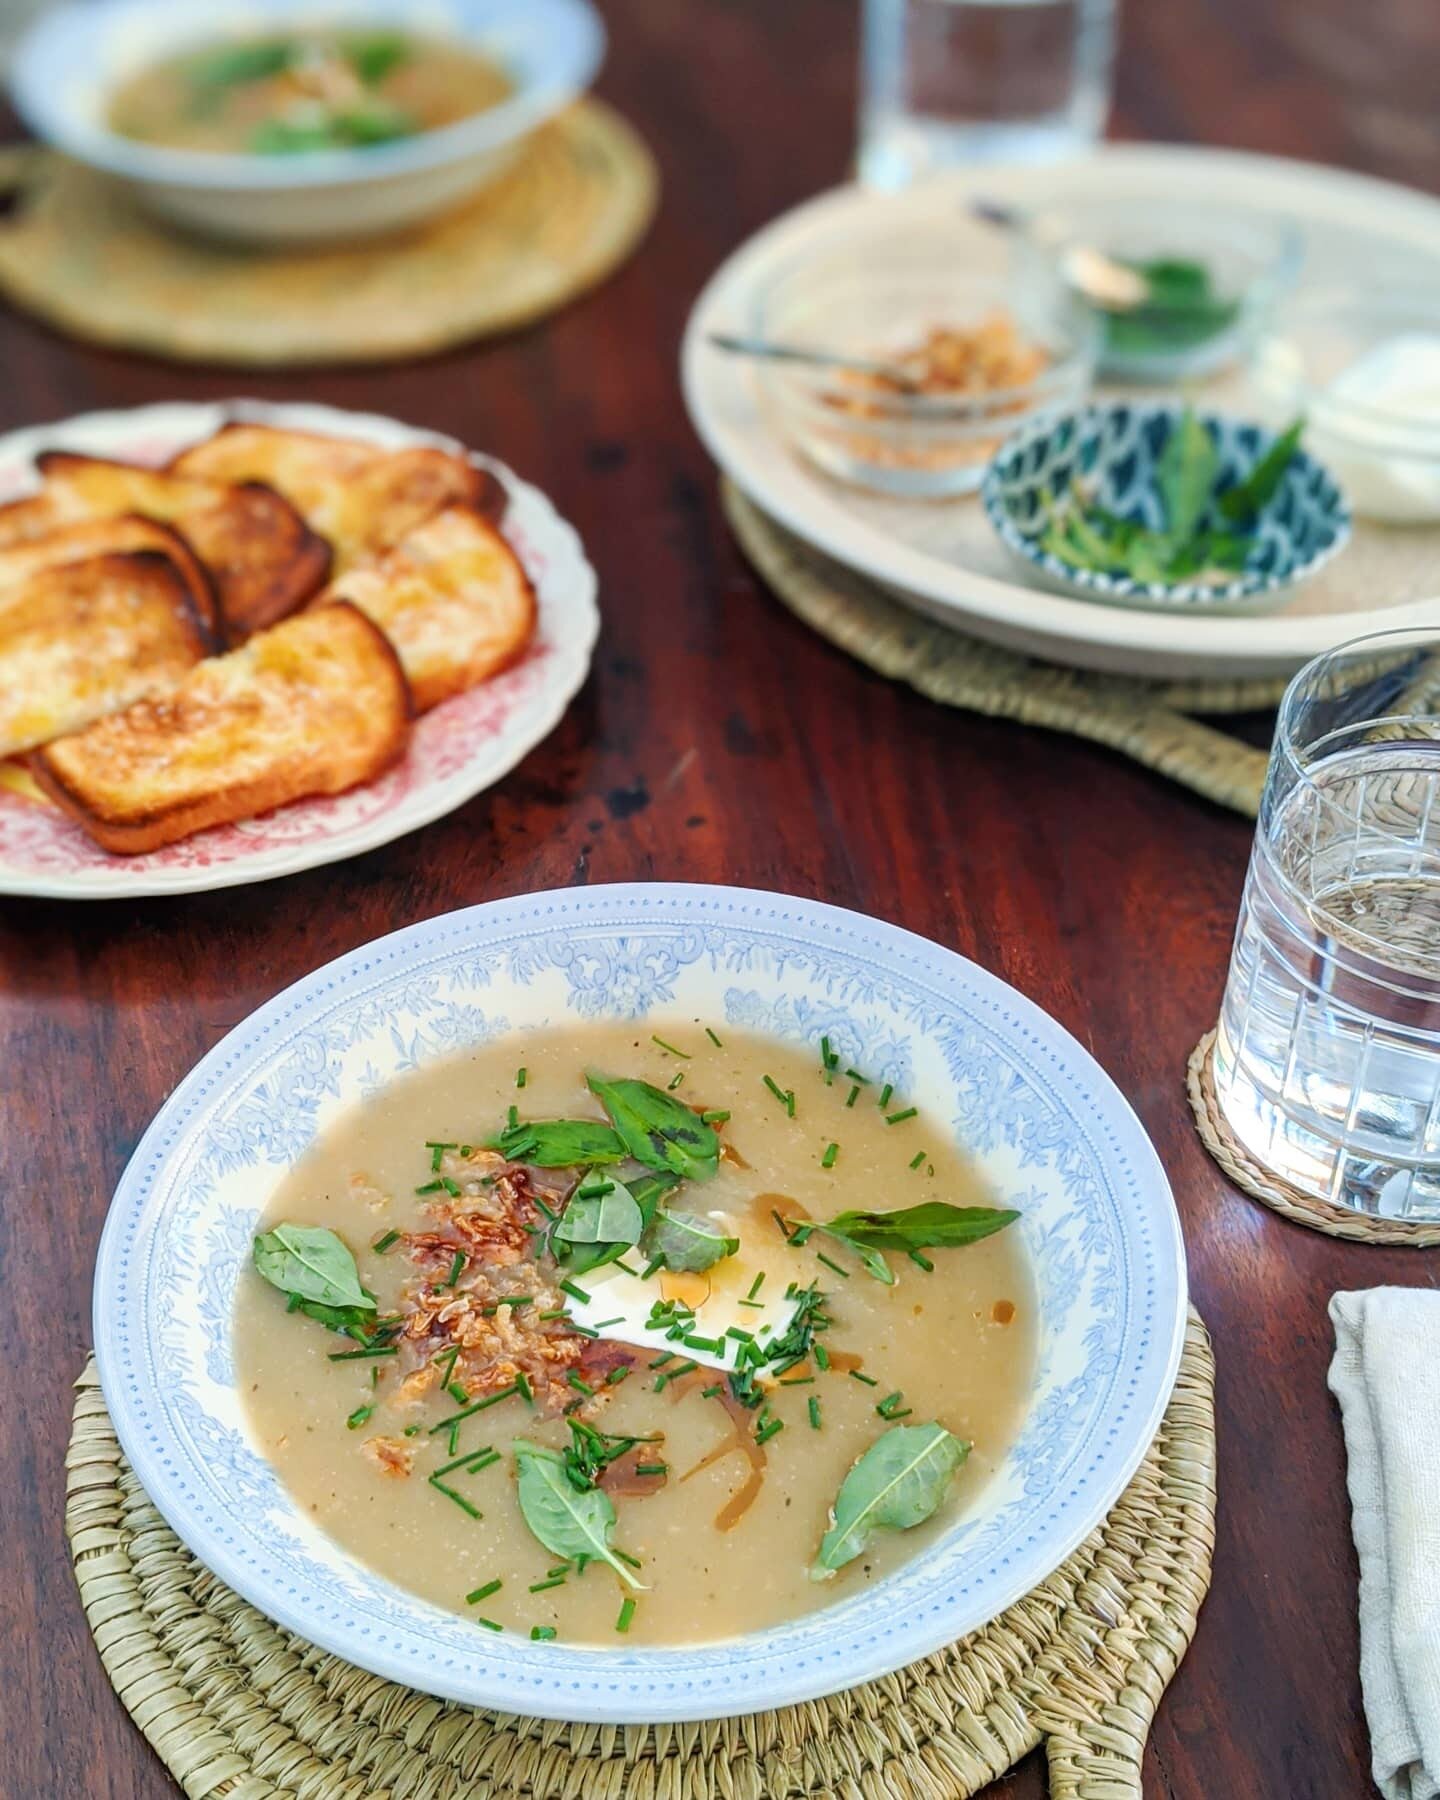
Ladle the soup in bowls with a dollop of Greek yoghurt or crème fraiche, cilantro or laksa/rau ram leaves, fried garlic and onions, some chopped chives and a drizzle of sesame oil. And maybe some buttered bread on the side? This is just an idea. Many different condiments and sides will work lovely. Customize!
We occasionally like to add a bit of either soy or fish sauce to the soup before serving, but it depends on how rich you’d like your soup that day. This recipe will make a large amount and we usually freeze ours in batches to use later. If you are going to do that, I recommend portioning out the batches and seasoning only what you will eat at that time. Thereafter you can season each batch according to your mood on the day you defrost it.